Friday, July 27, 2012
My sewing machine - family Pfaff 130
I love my sewing machine.
It is a Pfaff 130, sews wonderfully, straight stitch and zig-zag, and forward and backward! I can lower the feed dogs to do free-motion machine quilting, which it does with no thread tension problems or anything.
Basically, this machine does everything I really need it to do, and does it really well. And it came with tons of original accessories (as you'll see in dome follow up posts!)
But another reason I love my machine is because it was purchased new in 1953 by my Great-Grandfather Dean (my dad's dad's dad), for my Great-Grandmother Nina to use. I never met this Great-Grandmother. I'm not sure when she died, but it was definitely before I was born. I do remember my Great-grandpa Dean, but not very well and my only memories are of him as a very old man.
They must have thought hard about what machine to buy. Here's a picture of a couple pages of the advertising/informational booklet about the machines:
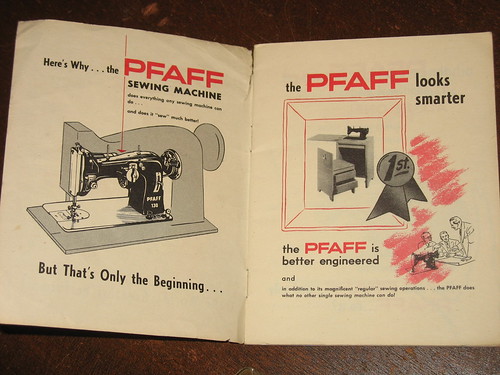
Later in the book, there are pictures of all the types of machines/cabinets and my great-grandpa (my grandpa thought probably his dad would have done this) wrote in the price by each machine in pencil. Here's the one they ended up buying:
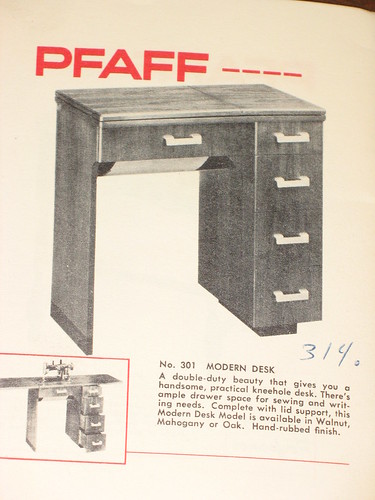
$ 314 dollars in 1953 equates to roughly $ 2500 in today's money (according to here). I have no idea what their finances were like, but I remember my Great-grandpa's house in Alton, IL and it was pretty tiny, so I'm guessing they weren't millionaires or anything!
And here's the machine today (in my sewing room with some boxes - not sewing supplies! - yet to be unpacked nine months after our move):
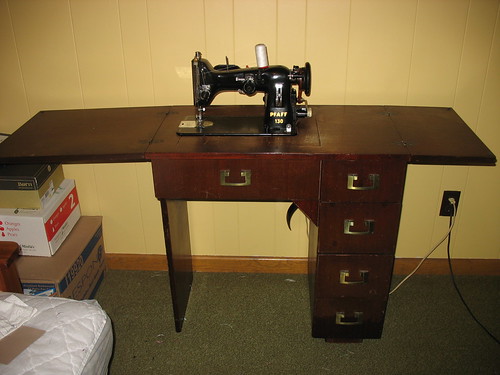
The machine also hides completely in the desk and the extended tables fold over it, so it ends up looking just like the picture in the advertisement book. I forgot to take a picture of the actual machine like that, but I bet you can imagine it.
I love family history and the machine works great, so it makes me very happy when I use it! I don't think I'll ever get another sewing machine... (well, except maybe a small, lightweight cheaper one that my girls could first learn on - the knee pedal on this is too high for them to use easily, and also I could take it with me to a class or something - this thing is super-heavy!!)
So maybe I should say that I don't think I'll ever use another sewing machine regularly! I don't need bells and whistles and I think this machine will last perfectly to probably be used by my great-grandchildren someday!
I have a million pictures of accessories and everything else that goes with it. If anyone reads this blog and is interested in this, leave a comment about what you're most interested in seeing (feet, old thread/accessories, random stuff I can't identify, instruction booklet and other papers, or questions about it too) and I'll do posts on that. If no one reads this or cares about old sewing machines, I'll just keep randomly posting stuff I feel like!
Wednesday, July 25, 2012
New baby flannel blanket
These are so easy and yet so practical and soft and nice for new babies, it's definitely my go-to gift. A great friend I met years ago in Spain just had her second baby. (well, maybe a month ago!) I found this flannel with pink animals with brown details on a cream background, and then some brown and cream flannel for the back that I loved. And that was probably the most time-consuming part. Someone gave my oldest a flannel blanket like this and it was great for swaddling her when she outgrew her bigger blankets but still wanted to be swaddled, and later it was a great blanket to have a day care as a special blanket from home.
Fabric details:
Final product: Of course no baby gift is complete without a 'big sister' (or big brother!) gift to go with it!
It's supposed to be a kitty... hopefully the 3 year-old likes it!
Sunday, July 22, 2012
Iowa - RTQA
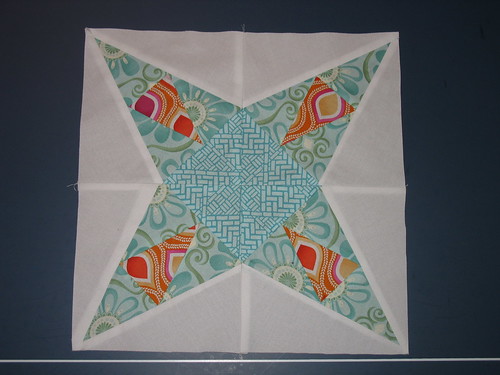
Home sweet home - Iowa. Well, unfortunately the block wasn't quite as friendly to me. This was expected since I had so many problems with the paper piecing in that earlier RTQA block, but I used to do a lot of paper piecing back in my first quilting life - so it was a little frustrating!
(Quick backstory: I did a fair amount of sewing and quilting when I was in high school for 4-H, mostly. Then I went to college, then grad school. I think I made one wall-hanging quilt and one baby outfit in 10 years and that was it. A few years ago (2 or 3?), a friend posted a link to Fabricworm on Facebook and I clicked on it... somehow that led to getting completely hooked again - my 'second' quilting/sewing life has already been so much more productive than my first and more fun, too - not making things to be 'judged,' but that's another story.)
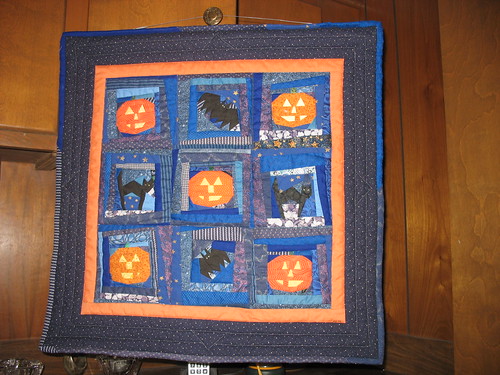
Anyway, this is a wall-hanging I made back in 1996 (when I was in high school... so, on my mom's sewing machine, with my mom's fabric, probably with my mom's guidance on block layout, etc.)
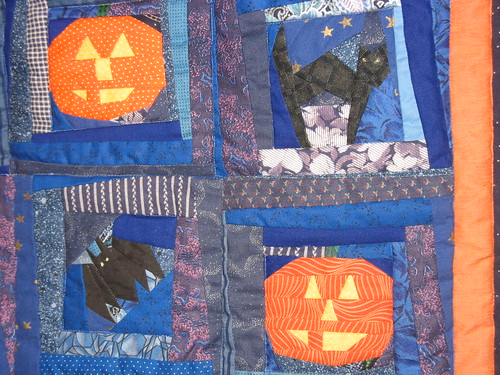
I assume I made it for 4-H and showed it at the County Fair that year, but I don't really remember that part, so maybe I just made it for fun. I do remember that all the little blocks (it's a small wall hanging, don't know exact dimensions) are paper pieced. Here's a closer look:
But all of that paper piecing in my first life didn't help me much trying to make this Iowa block in my second quilting life using the freezer paper method. I made one quarter that way and had to give up, make new templates on plain paper and go back to my old sewing through the paper way of doing things. Ahh... that felt much better and went much smoother! Though I can't really tell which of the quarters I did the other way, so I guess I didn't end up messing it up too badly.
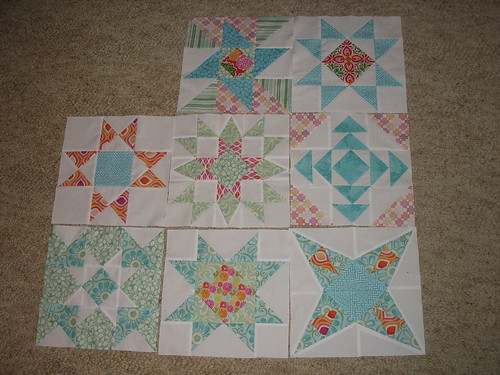
And here are all the blocks so far (including the extra one of the first block):
Saturday, July 21, 2012
Illinois - RTQA block
Finally! My sewing machine is back, quieter than ever, and I am sewing again.
This was a pretty nice way to come back to these blocks. Pretty straightforward, I mostly remembered how to do the flying geese (though I double-checked), and I like the way it turned out:
Sunday, July 15, 2012
Two bird hoopla
While my sewing machine is in the shop (thought it was broken, but it fixed itself by the time I arrived there, however since it's 61 years old and I've owned it 10 years without having it tuned up, I just left it for a good cleaning and tune-up anyway), I'll share a couple of hand projects I'm working on or recently finished.
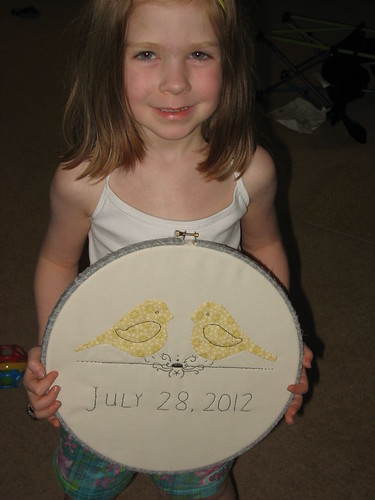
I finished this yesterday - just in time for my friend's bridal shower. Yes, she is getting married on July 28, 2012. (My daughter really wanted to hold the hoop for me!)
I think it turned out pretty nice. I appliqued the birds, based on a pattern I drew (more on that in a second), and then embroidered the wing shapes and the lines. haven't really done much (any?) embroidery before, so it's certainly not perfect and I don't think I'd really even know what perfect looked like since I'm definitely not an expert!
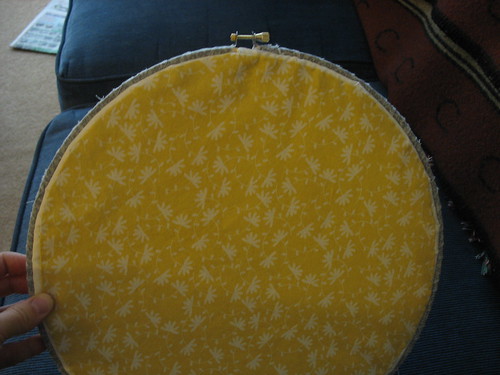
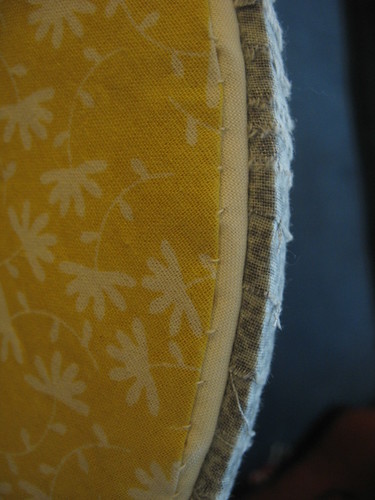
I got the idea to cover the outside of the hoop with torn fabric from here, and learned about how to finish the back so it looks nice here (though I didn't use felt, just yellow fabric.)
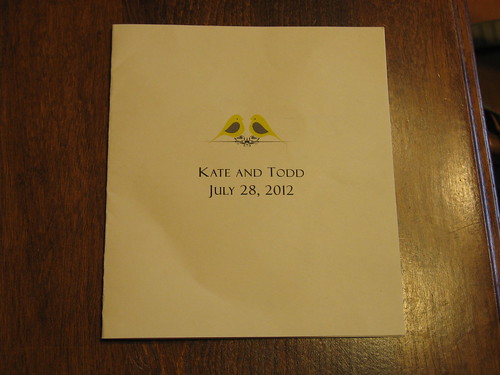
What makes it a nicer gift (in my opinion!) is that I drew the design based off of their invitation:
(excuse the bad picture):
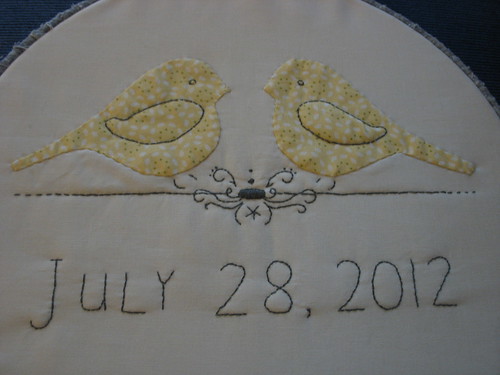
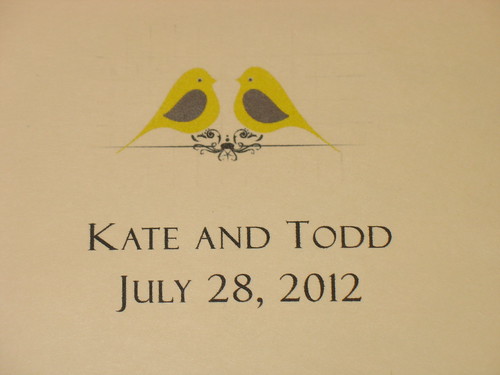
Here's a close up of the birds (you might be able to still see a bit of the grid I drew over the design so I could enlarge the birds onto freezer paper to make the templates):
And here's the final product again:
I decided not to put their names on it partly because it would have taken longer (did I mention I finished it a couple hours before the shower?) but mostly because I sort of envisioned them hanging it somewhere in their house, and I don't know, I guess I just figured they know their own names!
Friday, July 6, 2012
Work in Progress ... Friday?
Most of the blog world seems to do their 'Work in Progress' posts on Wednesdays ... W, W = nice. Well, I have so many work in progresses, one of which is older than the internet (seriously!) so I probably shouldn't limit myself to just talking about WIPs on Wednesday. If I happen to work on something AND remember to take out the camera and get a picture of it - it's going on the blog, whether it's a Wednesday or not!
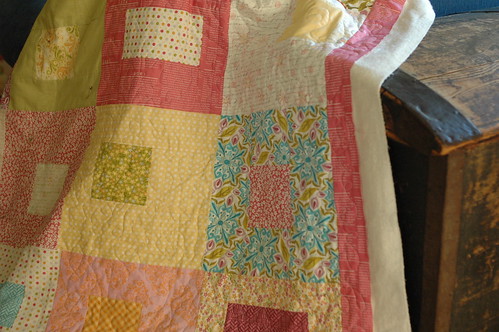
Today's WIP is a picture of part of a quilt for my middle daughter's bed. It's a generous twin size, and made without a pattern, just a completely improv square (or rectangle) within a square idea that I certainly did not invent. As you maybe can see here, I'm doing just random free-motion machine quilting on it. (I love doodling, so this is my favorite machine quilting, though I've only really done it on one other large quilt - my oldest daughter's twin bed quilt - similar fabrics as this one, I'll share it sometime.)
I love having lots of projects going, because I get bored just working on one thing from start to finish. Hopefully I'll share more of these as I get them out and work on them the rest of the summer.
Wednesday, July 4, 2012
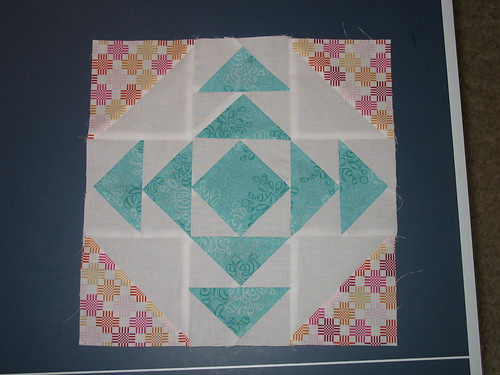
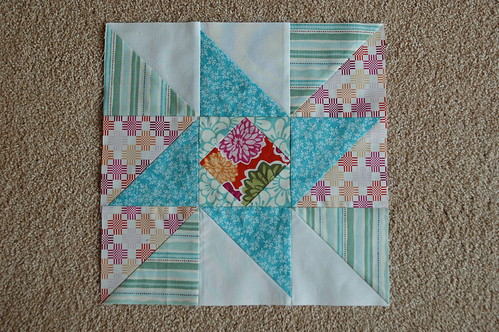
Indiana Puzzle - Block #4
This was a nice block for a holiday week, and I liked the way it turned out!
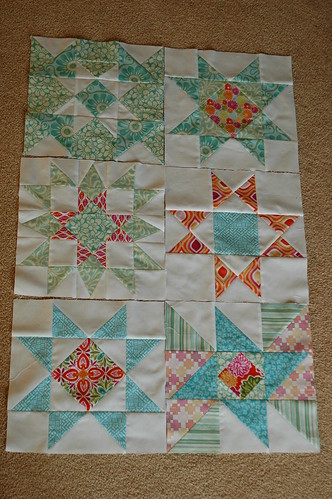
Here are all my blocks together so far:
Still having a hard time taking the picture of all of them straight on.
Sunday, July 1, 2012
Matching dresses for the girls
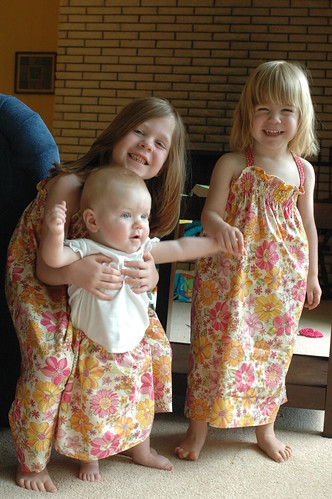
I made matching dresses a couple years for my two older girls (at the time, the only two I had!) They were cute, but were outgrown of course. The oldest had been begging me for a while to make her another dress, and I happened to have enough fabric that I thought they'd like to make a few little girl dresses, which was good, because as soon as the middle sister saw what her older sister was getting, she begged for one, too. Then, I used a few of the scraps to make a skirt for the baby, so she wouldn't feel left out!
I used this pattern from Sew Mama Sew made by JCasa, with modifications. I had made this pattern before and it took me forever to figure out how to get the smocking (with elastic thread in the bobbin) to work on my old machine.
I did figure it out 2 years ago... now, would I actually remember how to make it work again?
I didn't at first (if I had had a blog that long ago, I could have looked it up), but after a little bit of trying a few things it came back to me. The secret for my machine is - sew very, very slowly.
It about kills me, because I love zipping down the seams and it's difficult to keep only the slightest pressure with my knee on the pedal, but *sigh* I had agreed to make them, and I didn't want to disappoint (or go to the store for more fabric, or re-cut out pieces to change patterns.)
So, I put on some Science Friday podcasts and got to work.
Anyway, the smocking worked great, once I resigned myself to the boredom, and the dresses, though not by any means perfect, went together quickly. They were super-excited about them, which is even more important, I suppose. Here are a few pictures (note that the middle sister's dress is not really that crooked, the straps just weren't tied straight and I didn't notice until later.)
I just put 5-6 rows of smocking at the top of the dress, none for a waist like the pattern suggests. I think I'd like them better with smocking at the waist too, but I was getting too bored of sewing slowly, so I decided to drop that part.
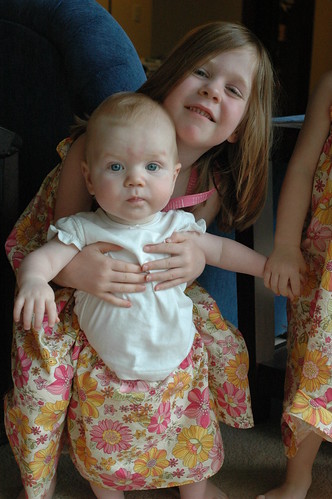
The baby's skirt just has a bit of elastic at the waist. It probably should be wider, but she's not crawling yet, so it'll work just fine for sitting or rolloing over.
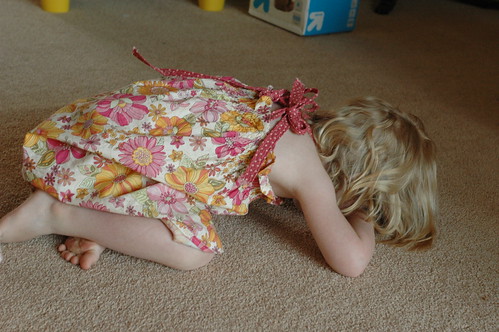
How about that? The dress is still cute even when the model is throwing a minor tantrum!
Before I became a parent, I used to see kids (girls especially) dressed all alike and pity them slightly for having their parent make them dress alike. Now that I'm a parent of girls who want to dress alike all the time, I have a totally different perspective!! Hopefully they won't always wear their dresses at the same time, but they are so excited to have matching dresses that who knows?!
Subscribe to:
Posts (Atom)